Doll’s house
$5.00
- Pay online by credit card, debit card, or Paypal using Secure Server Paypal. You do not need a Paypal account if paying by credit or debit card.
- After making payment you will automatically be sent an email with a secure download link.
Dolls house, plans & instructions – $5.00 USD
Purchasing Instructions – easy as
Simply click on the ‘BUY IT NOW’ button above and fill in the required fields displayed in the pages that follow to complete the payment transaction.
After payment, you will automatically be re-directed to a ‘thank you’ page.
You will also be sent an email with the download link along with a receipt, to the email address you used to purchase the plan.
No email? Please check your spam folder. The email with the download link will be obvious with the following headings; FROM: Buildeazy, SUBJECT: Your order is ready.
Specification: Doll’s house
|

E. –
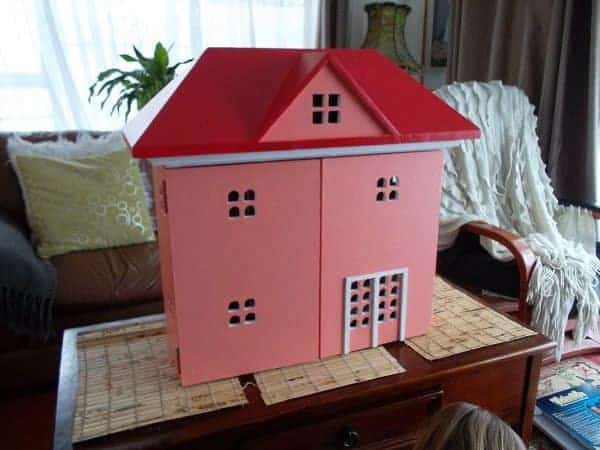
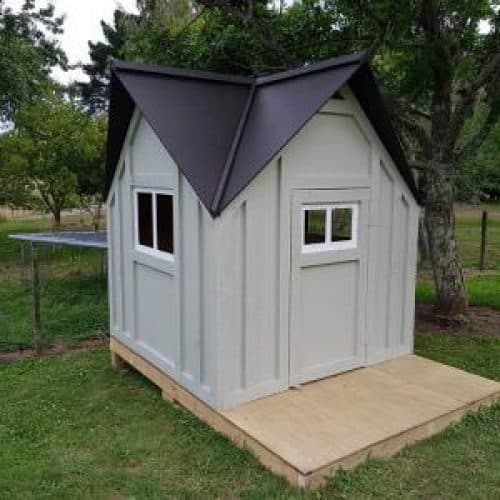
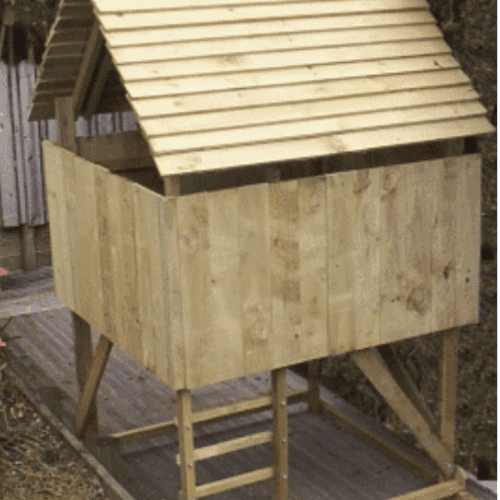
Here a some pictures of my finished doll house. As you can see I added some shutters to the windows. I want to give you some feedback of my experience doing this build.
1. When I had finished the build, the roof did not fit. I had to saw away part of the frieze board to make it fit. The reason for this was that in placing the frieze board in 2 inches from the outside edge of the frame only leaves 10 1/4 inch of space (14.25 minus 4 equals 10.25). The doll house is 9 inches wide plus the back (1/2 inch) plus the board added across the top front for stability (3/4 inch) which totals 10.25. To solve this problem as I build my second doll house, I am putting the frieze boards in by only 1 3/4 inches. This will allow plenty of clearance for the roof to fit.
2. If the two piece 3 pieces are cut as shown on page 6 of the plans they will not work since they are identical. I plan to move the lower piece 3 to the upper right hand corner of the board as a mirror image and I think it will work fine.
3. This one you are already aware of. That is the incorrect length ( 26 vs 29) on the first board I cut on page 7 of the plans.
4. On page 9 of the plans you show the inside of the dormer being trimmed for readiness for the front wall. This would be much easier if you marked the dormer on the front of the roof and trimmed out what is necessary prior to gluing the dormer in place.
Started my second doll house today and hope to have an easier time based on my experience of building my first one.
E. Stevens