Contents
A very practical, portable bench – with many uses
Kitchen island bench
$5.00
|
Introduction
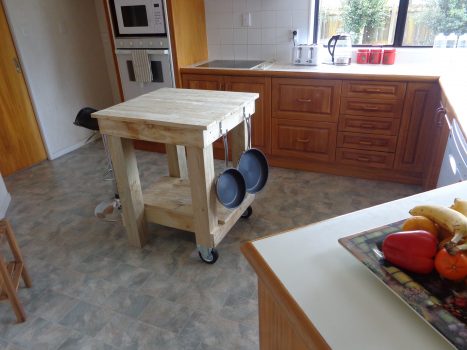
This is truly a handy multi-purpose little workbench.
It is a strong, bulky, solid structure.
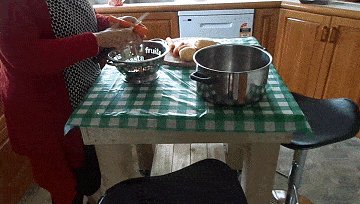
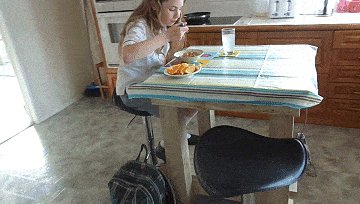
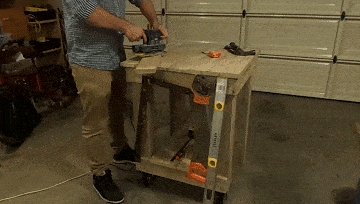
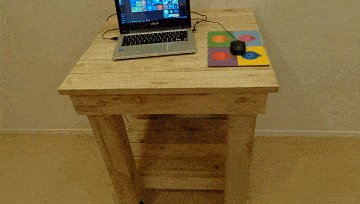
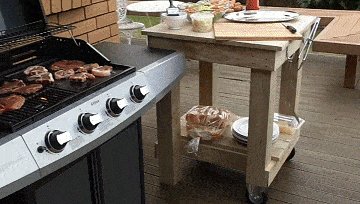
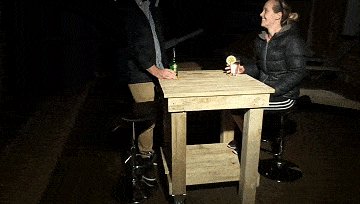
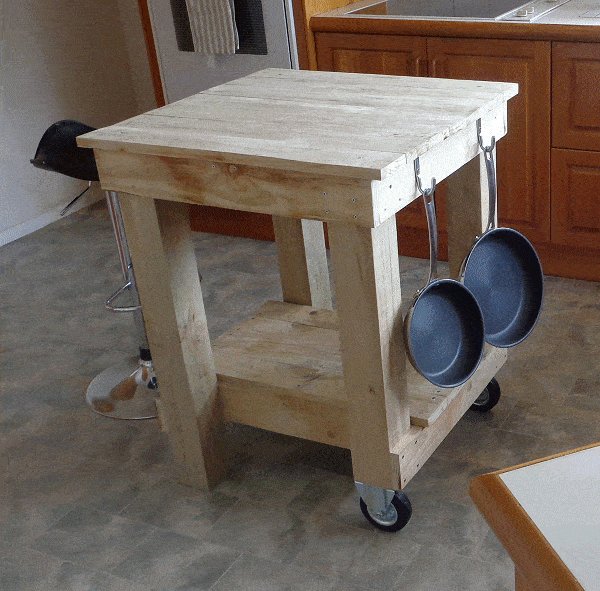
You can use it for a kitchen island bench, a breakfast bar, a bbq prepare station, a DIYers workbench, a bar table, and even a stand up computer desk – after all, the health experts say it’s a lot better for your posture and health to stand up every now and then while working with a computer.
Following are the plans, step-by-step instructions, and plenty of pictures and drawings to guide you along the way.
Measurements given
All the measurements are given in both imperial (inches) and metric (mm).
The inch measurements are given first, followed by millimeters in brackets (mm). For example: 1×4 (25mm x 100mm).
The imperial sizes are not an exact match to the equivalent metric sizes, so use one or the other.
The workbench many uses
I purpose built this unit as a kitchen workbench. At the time I had no idea all the other uses I would get out of it.
Wood size
Two different stock sizes are used in this project, they are 4×4 (100mm x 100mm) for the legs, and 1×4 (25mm x 100mm) for everything except the legs.
Wood type and look
I wanted a rustic look – more or less.
Sawn (rough) pine seemed the affordable option albeit a bit too rough for my liking. Dressed or dimensioned pine would have been a bit too smooth.
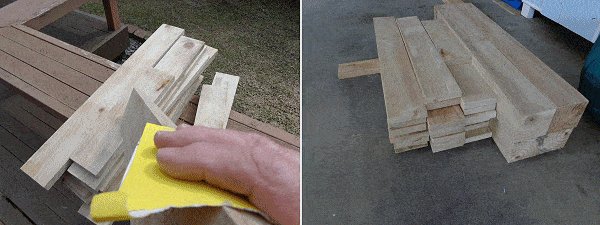
I decided to run with sawn pine and give it a slight plane and sand myself, making the finished product somewhere between rough and smooth.
Fixing
I fixed all the pieces with screws and glue.
I used wood screws 1-3/4″ (45mm) long where boards on their flat, were fixed to other boards on their flat, e.g. a tabletop board fixed to an under-rail.
I used 2-1/2″ wood screws where boards were fixed to thicker members, e.g. a side-rail to a leg. I pre-drilled all the holes in the face pieces first.
Wood quantities
- 12 ft (3600mm) of 4×4 (100mm x 100mm) stock. Allowing for a little bit of waste. Cut the four legs out of this.
- 56 ft (17m) of 1×4 (25mm x 100mm) stock. Allowing for a bit of waste. Cut everything except the legs out of this.
When purchasing lumber try to get the longest lengths as possible and when cutting, always cut the longest pieces first to minimize waste.
Cutting list
4×4 (100mm x 100mm):
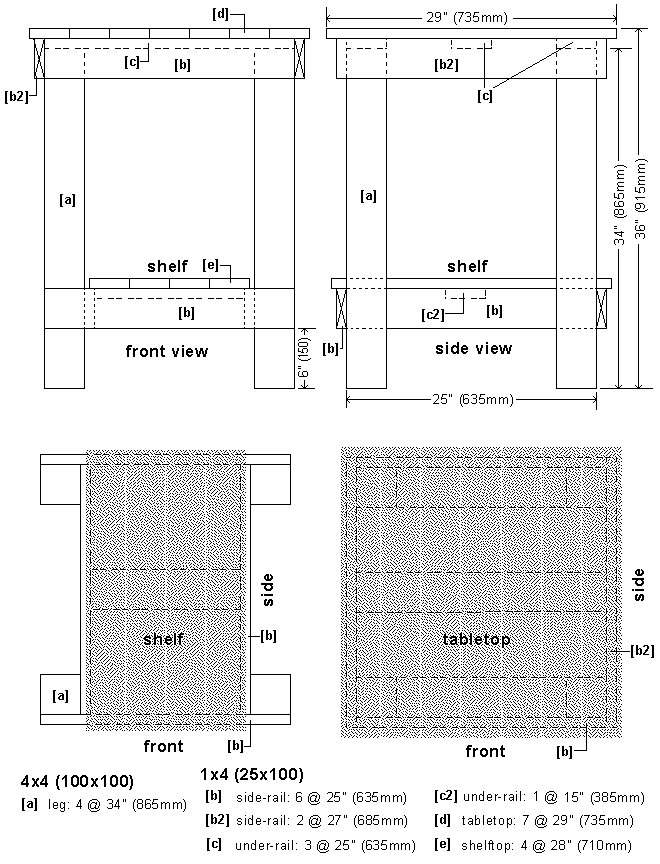
[a] leg: 4 @ 34″ (865mm)
1×4 (25mm x 100mm):
[b] side-rail: 6 @ 25″ (635mm),
[b2] side-rail: 2 @ 27″ (685mm),
[c] under-rail: 3 @ 25″(635mm),
[c2] under-rail: 1 @ 15″ (385mm),
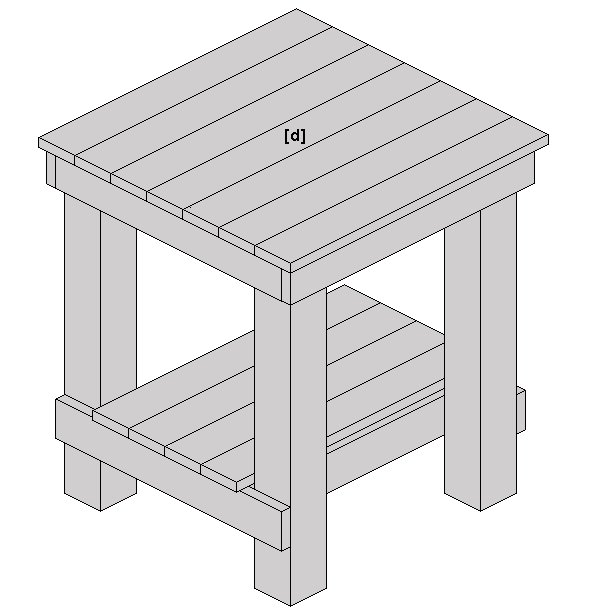
[d] tabletop: 7 @ 29″ (735mm),
[e] shelf top: 4 @ 28″ (710mm)
The plans
Instructions
Step 1. Cut the pieces
- Cut all the pieces to the lengths given below. Always cut the longest pieces first to minimize waste.
- 4×4 (100mm x 100mm)
- [a] leg: 4 @ 34″ (865mm)
- 1×4 (25mm x 100mm)
- [b] side-rail: 6 @ 25″ (635mm)
- [b2] side-rail: 2 @ 27″ (685mm)
- [c] under-rail: 3 @ 25″(635mm)
- [c2] under-rail: 1 @ 15″ (385mm)
- [d] tabletop: 7 @ 29″ (735mm)
- [e] shelf top: 4 @ 28″ (710mm)
- Plane and sand the rough wood to get the texture you want.
- I gave the rough-sawn wood a slight plane and sand, making the finished product somewhere between rough and smooth – semi rustic type of look.
Step 2. Make up the front and rear frames
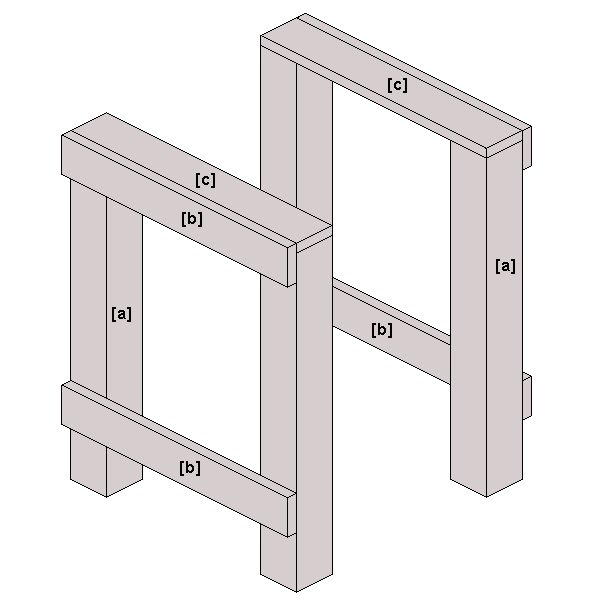
- The front and rear frames each consist of two legs [a], two side-rails [b], and an under-rail [c].
- Assemble the frames in the following order using glue and initially ONLY ONE SCREW AT EACH MEETING (so the frame can be skewed if required).
- Fix the under-rail [c] flat on top of the legs. The outside of the legs and the ends of the under-rail should be flush.
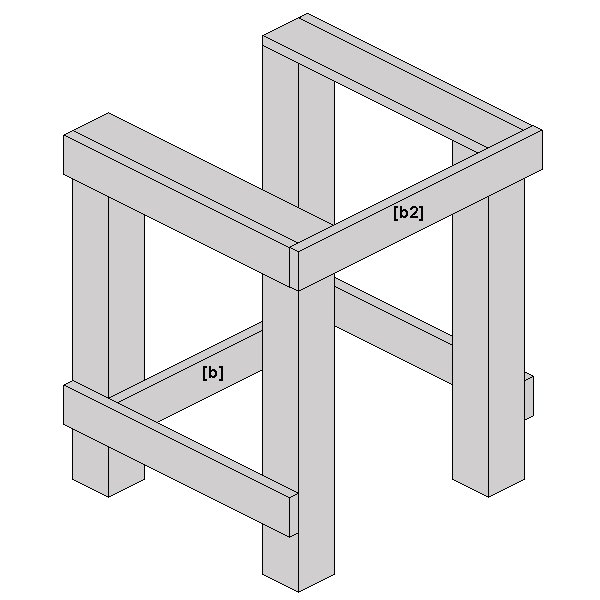
- Fix the two side-rails [b] to the legs. Ensure the ends of the rails [b] are flush with the outside of the legs.
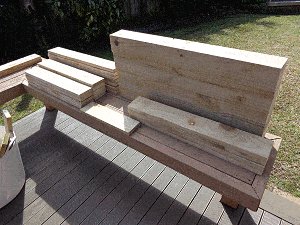
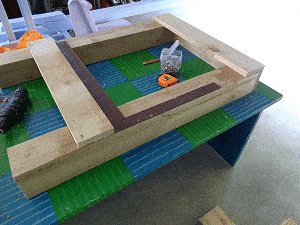
Make the top rail flush with the top of the under-rail [c] and position the bottom of the bottom rail, up 6″ (150mm) from the bottom of the legs. Refer to the picture and the drawing below. - Check the frame is square and then lock it in place by adding 3 more screws at each meeting.
Step 3. Connect the front and rear frames
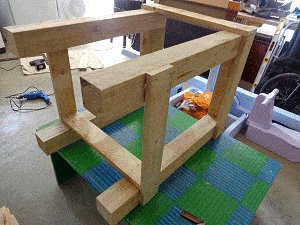
- Refer to the pictures and drawings to better understand the instructions below.
- Lay the two frames (front and rear) on edge, upright and parallel.
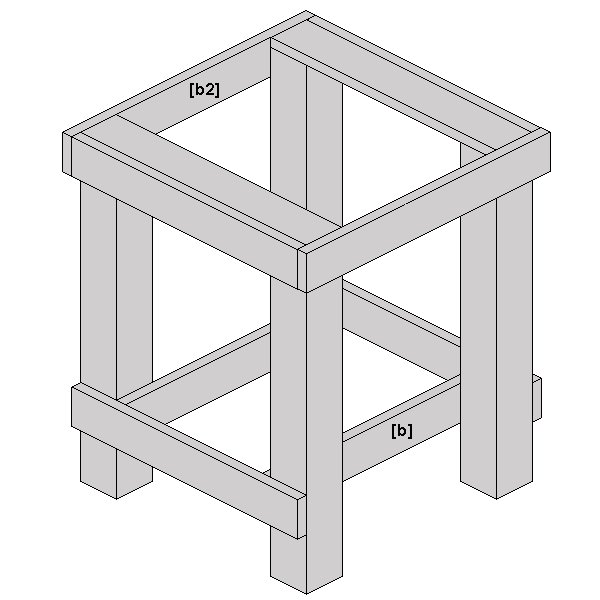
- Fix a side-rail [b2] (with one screw only each side) across the top, flush with the top of the top under-rail and flush with the outside face of the adjacent side-rails.
- Fix a side-rail [b2] (with one screw only each side) on the inside of the lower legs, inbetween the lower side-rails.
- Flip the unit over and repeat the above procedure on the opposing side.
- Check all is square and add more screws.
Step 4. Add the center under-rails
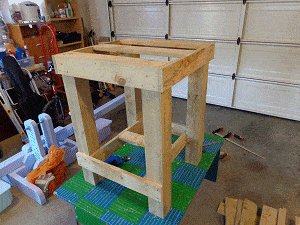
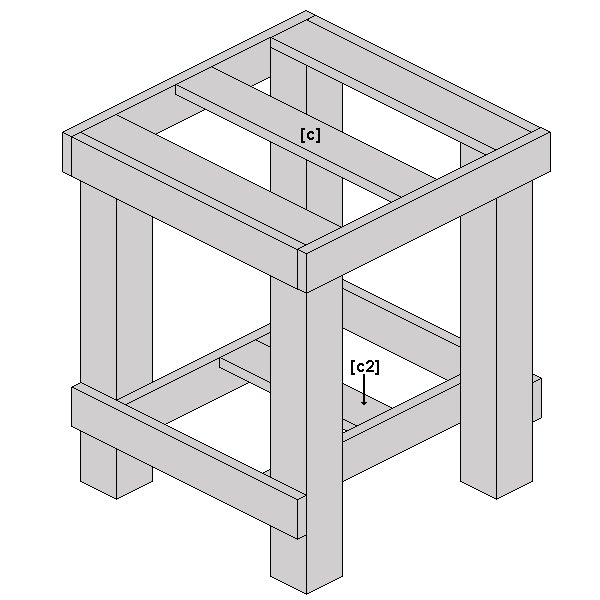
- Fix under-rail [c2] in the center between the bottom side-rails, flush at the tops.
- Fix under-rail [c] in the center between the top side-rails, flush at the tops.
- Refer to the picture and drawing.
Step 5. Fix the bottom shelf boards and tabletop
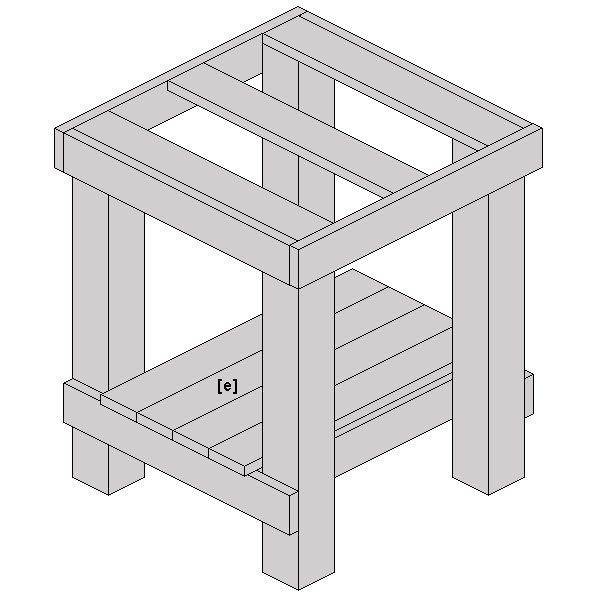
Screw the four shelf boards on top of the lower side-rails and under-rail.
Lay the tabletop boards together on a flat surface.
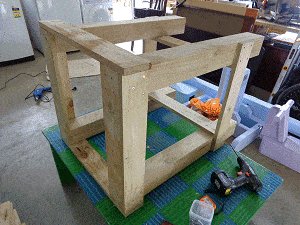
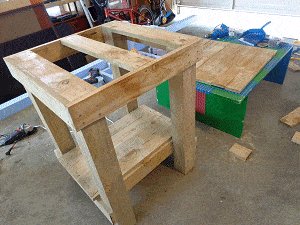
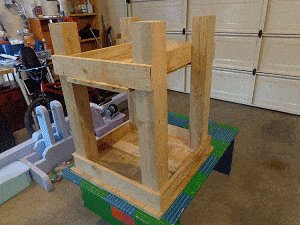
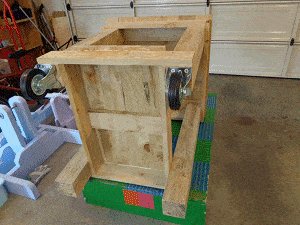
Turn the unit upside-down and place it on top of the tabletop boards [b] (as shown in the second photo above).
Fix it by screwing thought the under-rails [c] into the underside of the tabletop boards [b]. This is so you cannot see screw heads on the top of the table. The same does not apply to the shelf boards.
Step 6. Add two front wheels
- Source a couple of castor wheels of your choosing. They do not need to be swivel casters but ensure they will be strong enough to handle the weight.
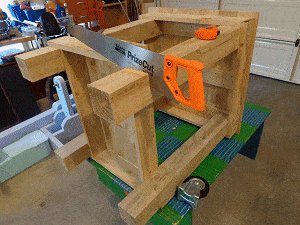
- Determine the overall height of the caster wheels and cut that much off the bottom of the two front legs.
- Screw the castors to the underside of the legs with adequate screws. Do not force the screws into the end grain, drill pilot holes first a bit smaller than the shank of the screw. Done!

