Contents
We have often stressed the importance of keeping your drill straight and how to use a drill properly. Well, that isn’t always the case, especially if you need to connect two pieces of wood at an angle and don’t dig nails.
A tool like a Kreg Jig can make that task easy by taking the guesswork out the things, but you don’t need to spend a penny with pocket-hole joinery.
Simply put, a pocket hole is drilled at an angle to form a “pocket” of sorts where the screw sits in the end. This technique is used when you need to join two pieces of wood and a great alternative to of toenailing with a nail gun.
With some practice and patience, you can handle anything from sharp angles and beveled corners to picture frames with a pocket hole.
If you want access to over 16,000 woodworking projects that give step by step instructions, check out Tedswoodworking, the number 1 resource for woodworkers.
Step by step guide how to drill pocket holes
Step 1: Preparation
As with any project, it pays to do your prep work first.
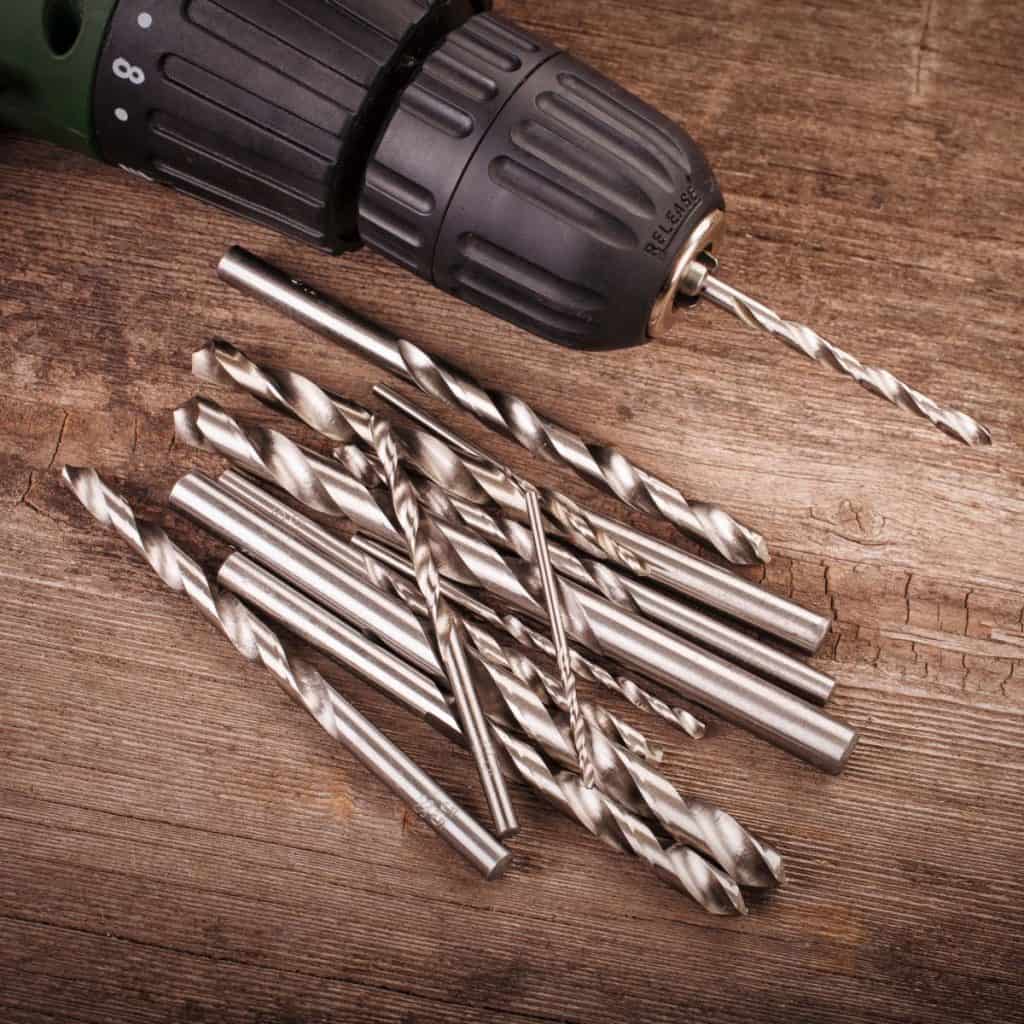
In this case, you will want to get your supplies ready which include drill bits, a pencil, a measuring tape, and clamp at a minimum. You’ll also need self-tapping screws to join your pieces together when you’re finished.
Clamp your wood down to ensure it doesn’t move while you drill. Once your lumber is secure, you need to measure and mark the wood where you plan to drill with the pencil.
What kind of bit should I use?

The type of bit depends on the material you plan to work with, but for most woods, you won’t need anything special. That said, we recommend using a classic twist bit, a style you can read more about in our best drill bit guide.
The size of the bit depends on how big you need the hole and obviously, how large of a bit your drill will take. Just remember to consider the size of the screw you plan to use.
For this type of hole, you will need two bit sizes so pick a bit smaller than the one you want to use for your final hole as well. That’s small bit is used for the pilot hole, which is the first hole you are going to make.
Step 2: Pilot Holes
Pilot holes allow your drill to get where it needs to go easier and are commonly used across the board. You basically drill a smaller hole before going with the big bit, and it’s an ideal technique for drilling pocket holes without a Kreg Jig.
Putting those holes in the wood is simple as you need to keep your drill vertical and produce a small hole. We can’t tell you how deep, that depends on the stock and what you’re trying to do. You can make pocket holes of any size, just remember to lock down those measurements first.
The purpose of these holes is to ease the way for your drill and to keep your drill bit from snapping during our next step where we make our pocket hole.
Making the Pocket Hole
For the inexperienced, this step may seem tricky, but rest assured it is not.
Once you have your pilot holes drilled, you need to set your drill into the hole and drill at an angle towards the end of the wood. The drill may almost touch the wood by the time the hole is finished depending on the size of the hole and angle you need to take.
Other things to consider
You always want to make sure to use the proper sized bit for the wood as a broken pocket hole is extremely difficult to fix. This type of joinery can’t take as much weight, which is something to keep in mind.
While it’s not a requirement, you may want to consider using glue in the joints for some additional security.
Conclusion
If you own a woodshop or are a pro, you probably have a Kreg Jib and dozens of other exotic tools in your arsenal. We will agree, they can certainly be handy and speed up the process in some cases.
For a simple pocket hole, you don’t need special equipment. You only need to follow our steps and do your prep work ahead of time. As always, you’ll want to keep safety in mind so wear safety glasses and use caution whenever you operate an electric tool.


