Contents
The exorbitant cost of hiring a carpenter to do work for you and expensive furniture stores have prompted many people to do their own carpentry.
Many people have decided to DIY. Although that could be the cheaper route, inexperienced individuals could end up spending more money due to negligence and mistakes.
In every profession, some mistakes that are common. That also applies when working with wood. To help the average person avoid common mistakes during woodworking, we compiled the common pitfalls that most newbies make. With some pitfalls, even the professionals are culprits.
Slow Down
One of the biggest mistakes that people make when they undertake a woodworking project is getting ahead of themselves. They’re excited about the project and can’t wait to finish it so that they can see how the final product turns out.
People will avoid numerous mistakes if they slow down. Rushing to finish the project will undoubtedly lead to mistakes. Apart from potentially ruining your project, you could also end up hurting yourself.
Being hasty when working with wood is the number one cause of workshop injuries. When you get into a rushing state, the best thing to do is to take a break. During the time-off, remind yourself that rushing the project could end up costing you more time and money if you make a mistake, not to mention inflicting injury upon yourself.
Besides pacing yourself, what are other factors that result in woodwork projects going astray?
Safety
This is one of the most common pitfalls in woodworking. So many woodworkers are eager to get the project on the way but forget the most crucial ingredient – safety.
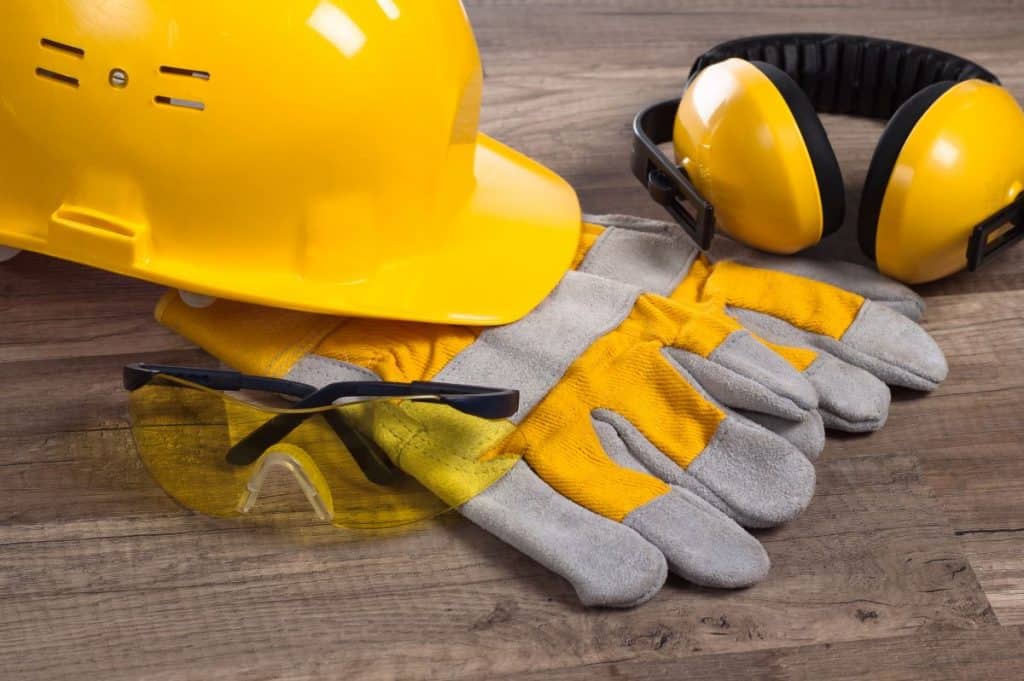
Since you’re going to be using sharp objects, you need to ensure that your whole body is protected if a blade flies off the saw. That might sound funny, but it won’t be if it had to happen to you.
Make sure that you use safety glasses. Also, don’t forget to wear gloves and an overall. The more that your body is protected, the better.
Measuring
What’s the point of working with wood when you’re not going to bother with measuring? You might say that you did measure, so it’s not your fault that the table legs are too low.
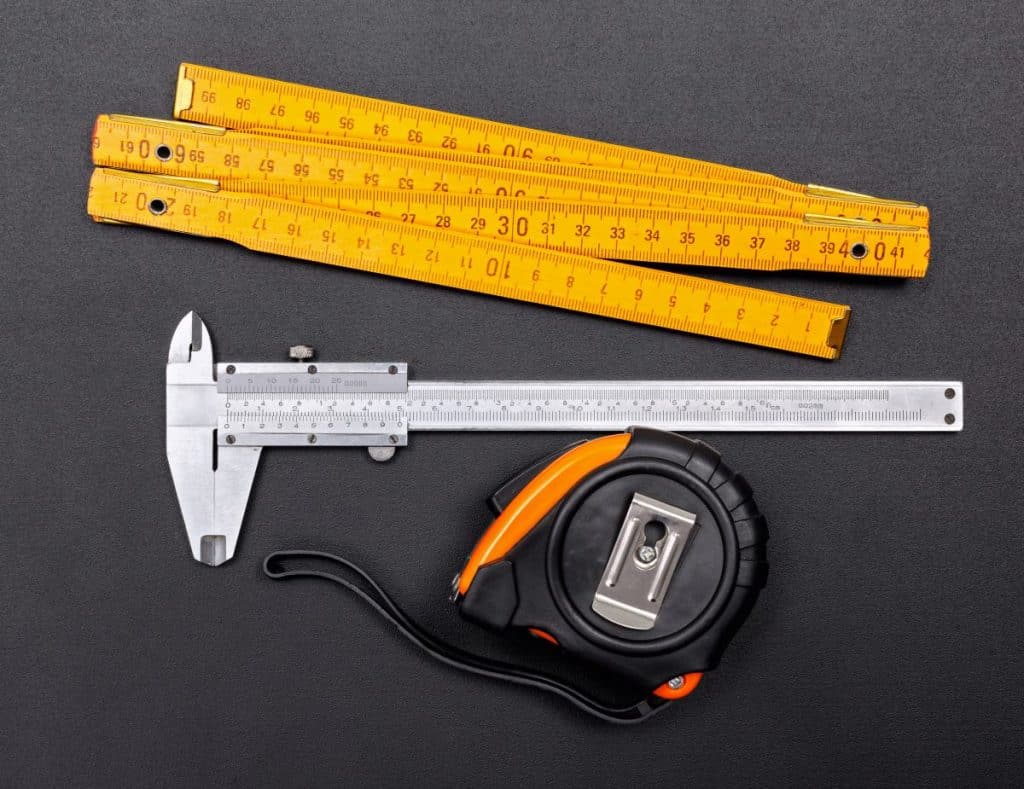
The quickest way to ruin a woodworking project is by not measuring properly. To make sure that you have gotten the correct measurements, you need to measure, measure and then measure again.
Take into account that your tape measure, pencil line and the blade of the saw has a thickness to it. Failing to take these into account could result in your cut being as much as a quarter of an inch out (2)
Considering all those factors and applying them takes practice. The best way to avoid a short piece because you didn’t measure correctly is to cut it a bit longer intentionally. That way, you can trim it once or twice if need be to get the correct measurement.
Tools
One size fits all is not an ideology that you can practice in woodworking. Wood differs in quality, size and texture. A tool that works with one project might not work with another.
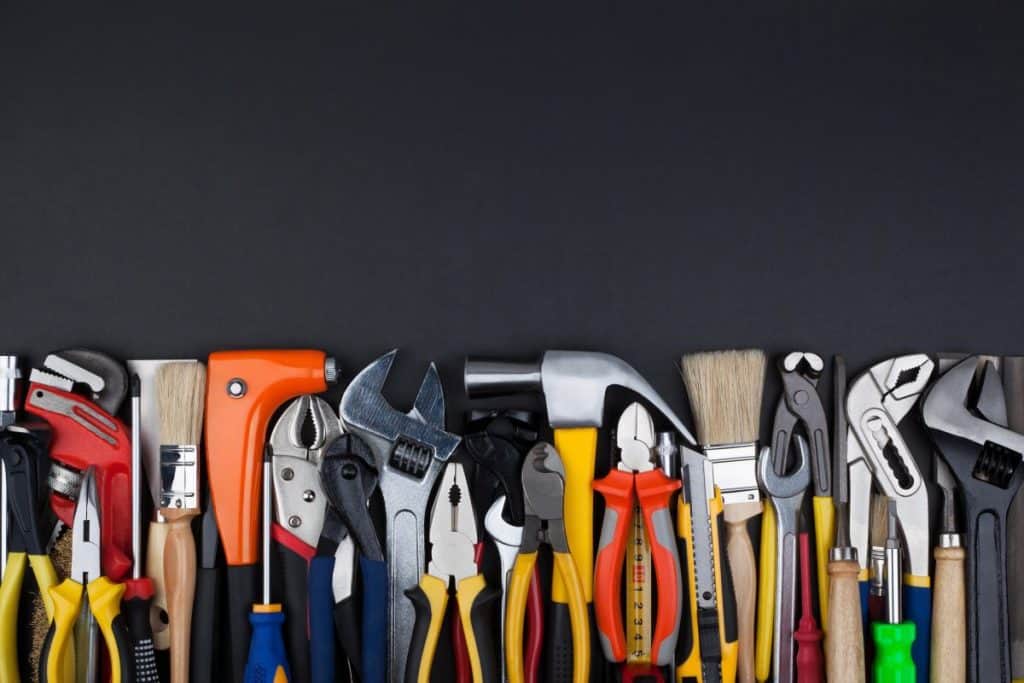
Choosing your tools is extremely important as it could mean the difference between having a great product or a failed project. You should consider several aspects when determining which tools to purchase.
High-quality tools are essential, but that doesn’t mean that all your tools have to be new. Look out for specials. Maybe you find sturdy second-hand tools that can do the job. Also, if you’re not going to use a specific tool often, is it worth your while to buy it new?
Try to find tools that can do more than one task. Woodworking consists of numerous tasks and to purchase a tool for each step of the process will be costly.
Wood Storage
Looking after the wood prior and during the project is just as important as getting the measurements for cutting right.
If the wood’s quality has deteriorated, then getting everything else right during the process won’t mean much since the wood will be in a poor state.
Moisture and humidity levels can impact the integrity and shape of the wood. Wood warping happens when the wood is deformed due to the moisture content of the different parts of a piece of wood when it changes unevenly.
Wood shrinks as it dries when it has high moisture content, and it will swell when it has low moisture content. (3)
So what can you do about it?
Proper storage is the way to avoid warped wood. The way one stores or stacks lumber plays a big part in warped wood. Best practices include ensuring that boards and stickers placed between them in a stack should be of uniform thickness. Lumber piles need to rest on a flat foundation. Don’t forget that stickers need to lie flat and be vertically aligned.
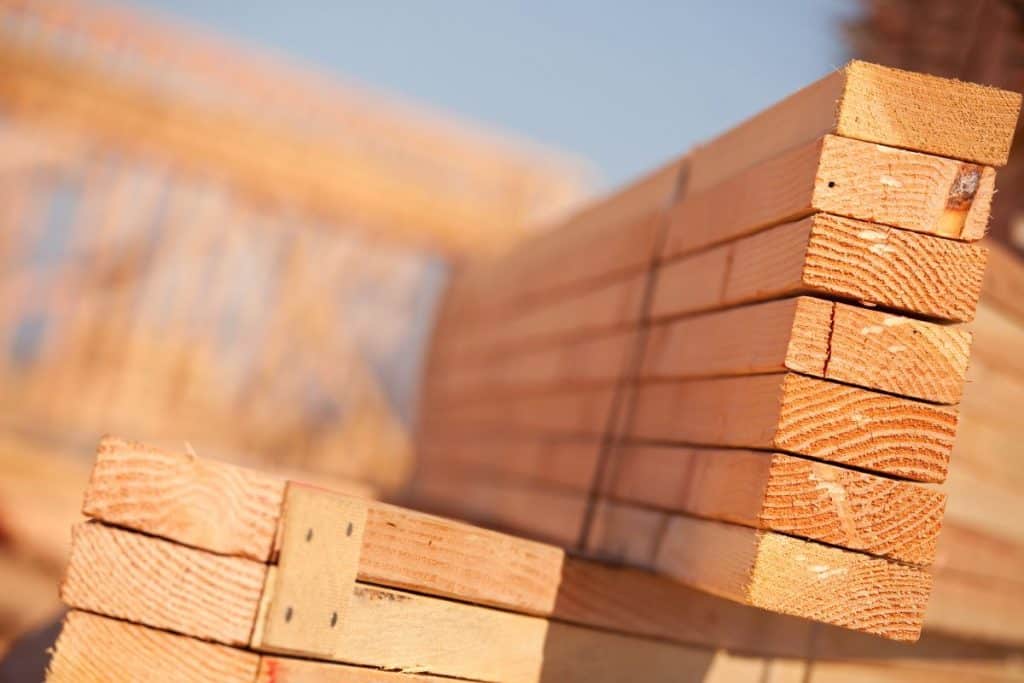
Make sure that none of the wood is cramped. Putting tools and other heavy objects on top of some wood might damage it. Wood needs ventilation, which you can achieve by spacing the material so that all the surfaces are exposed to air.
The last tip is easy to follow but crucial. Make sure that you store your lumber in a clean, shaded, cool and dry storage space.
Biting More Than You Can Chew
Taking on a woodworking project can be exciting, but it’s important for one not to get ahead of themselves.
Don’t take on big projects if you are a beginner. Trying to build a house when you’ve got limited experience will most certainly end in disaster. Woodworking entails building upon acquired knowledge. That means start off small.
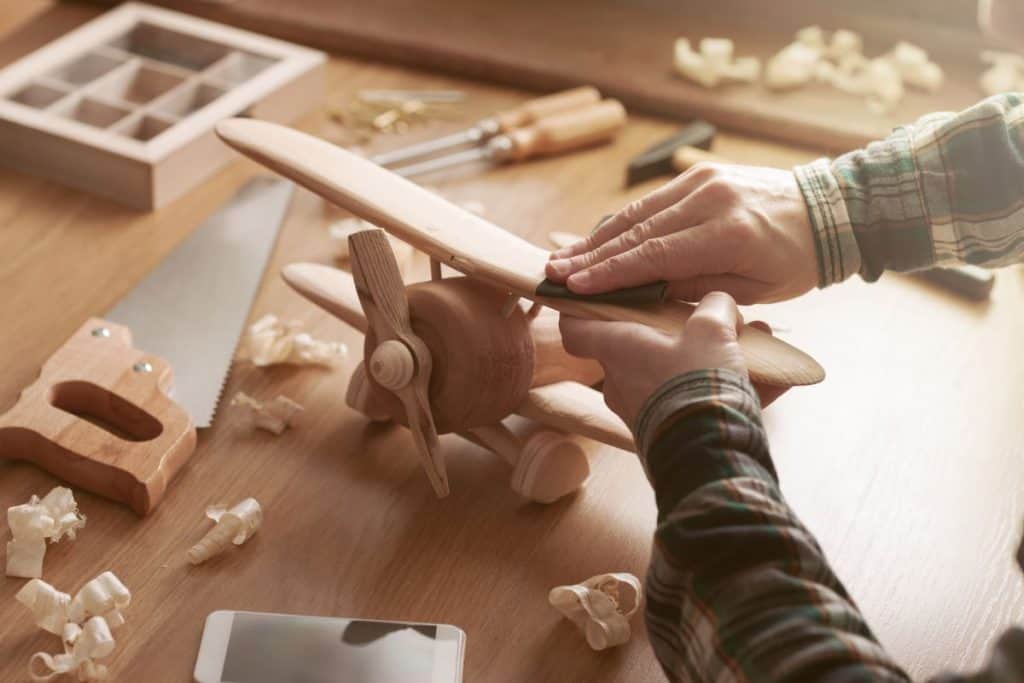
The learning curve isn’t steep, but you should start with simple projects. The ideal way is to practice as much as possible. That means building the same items several times before progressing to more complicated projects.
The result of those efforts will mean products of higher quality and less money and time spent on mistakes.
Blotchy Finish
One of the ways that blotchy finishes occur is due to oil finish such as Danish oil. The reason it comes out blotchy is that some woods take different amounts of oil, therefore they have an uneven appearance.
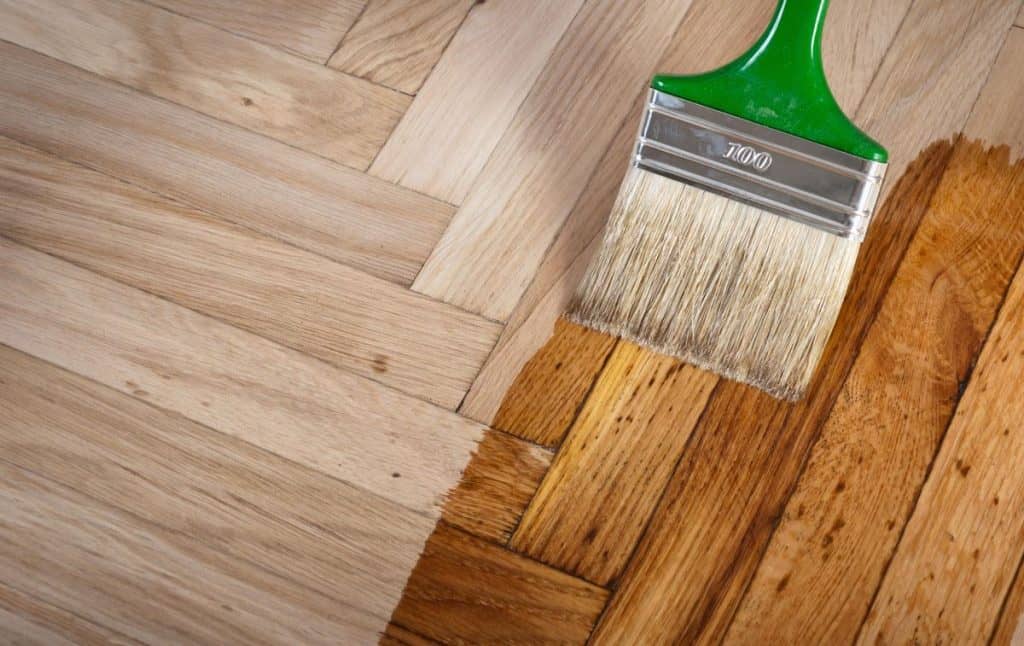
The problem with blotchy finishes is that you can’t correct it after it’s happened. One of the ways to avoid it is by planning before you finish the project.
Here are some ways that you can avoid a blotchy finish.
- First, use pore filling products to fill the pores before applying the final finish.
- The second method is to use a finish that remains on top of the wood instead of absorbing it. Varnish should do the trick.
First, use pore filling products to fill the pores before applying the final finish. The second method is to use a finish that remains on top of the wood instead of absorbing it. Varnish should do the trick.
Rocky Table
Nothing is more irritating than sitting at a dining lounge to have dinner, only to have the table wobble from one side to the other. Most woodworkers have made this mistake.
To make sure that it does not happen again, you need to ensure that you cut the legs to the exact same length. The best way to ensure the same length is to put them on a panel-cutting jig at the same time and run them through the saw.
The other thing to look out for is that you get the table square when you glue it. If the table is wobbly after you’ve glued it, all you have to do is adjust the length of the legs until they’re even.
Stain That Doesn’t Take
One of the major reasons that a stain doesn’t take is due to use of non-staining wood filler. The other reason could be that you didn’t wipe off some glue after assembling the piece.
Keep in mind that correcting these issues is difficult, so it’s best to take preventing measures so that these mistakes don’t prolong the project and add more expenses to your budget.
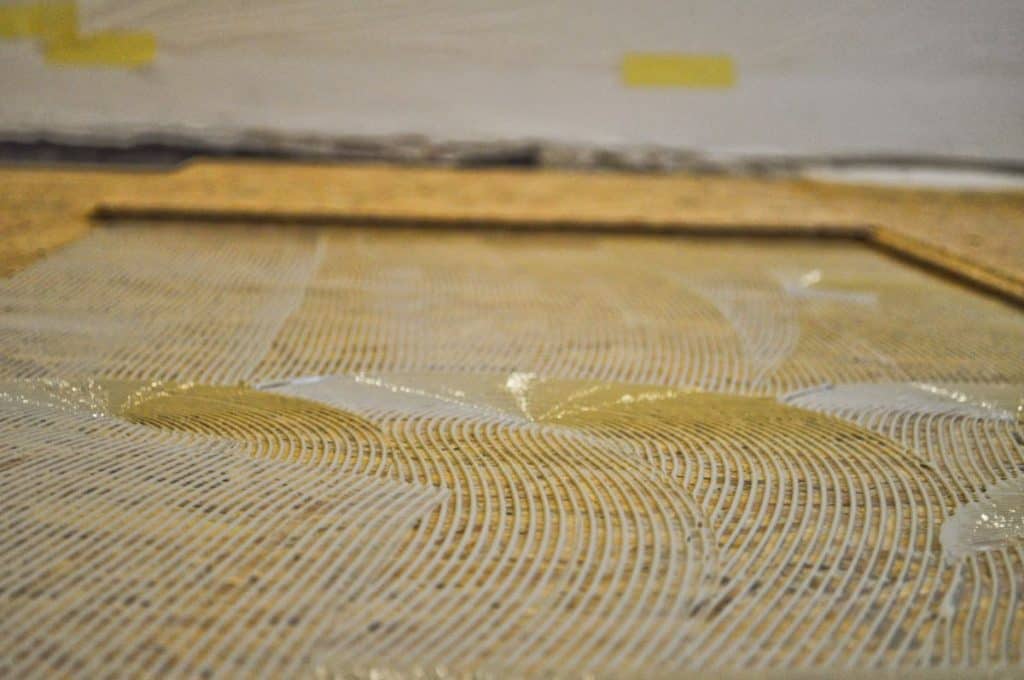
To avoid those problems, all you have to do is use a wood filler that can take stain. Also, don’t forget to wipe off the glue that’s sticking out of the joint after you’ve assembled it.
Too Much Sanding
Too much of a good thing can be bad. Although some woodworkers think that sanding as much as possible will make the wood smooth, it might also have an adverse effect.
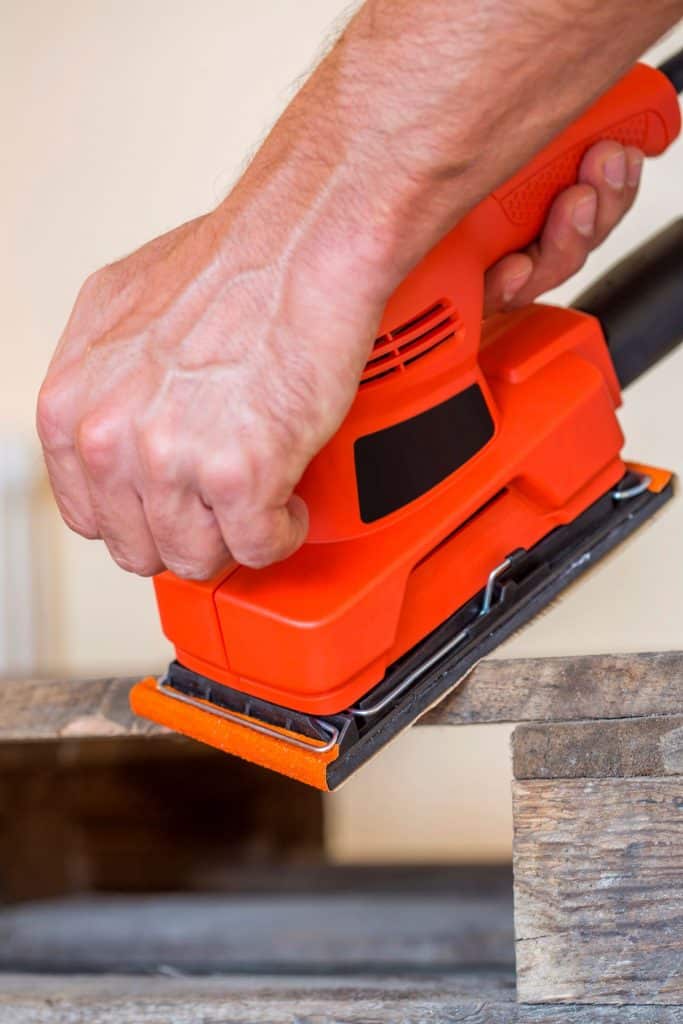
Wood such as birch gets fuzzy when sanded excessively. What tends to happen with excessive sanding on that wood is that the fibers tear and form fuzz on the surface. (1)
When that happens, the best solution is for you to use sandpaper that is grit or two lower. Sandpaper that is 120-grit will help to sand out the furs.
Uneven Tabletops
Next to a wobbly table, an uneven tabletop is the second most irritating thing to experience when you’re sitting down to have dinner. So why does it happen?
Let’s assume that you didn’t warp, twist or cup your wood. The one reason that could have led to uneven tabletops was that the edges of the board weren’t straight and square. The other reason is that you applied too much clamp pressure when you glued the boards.
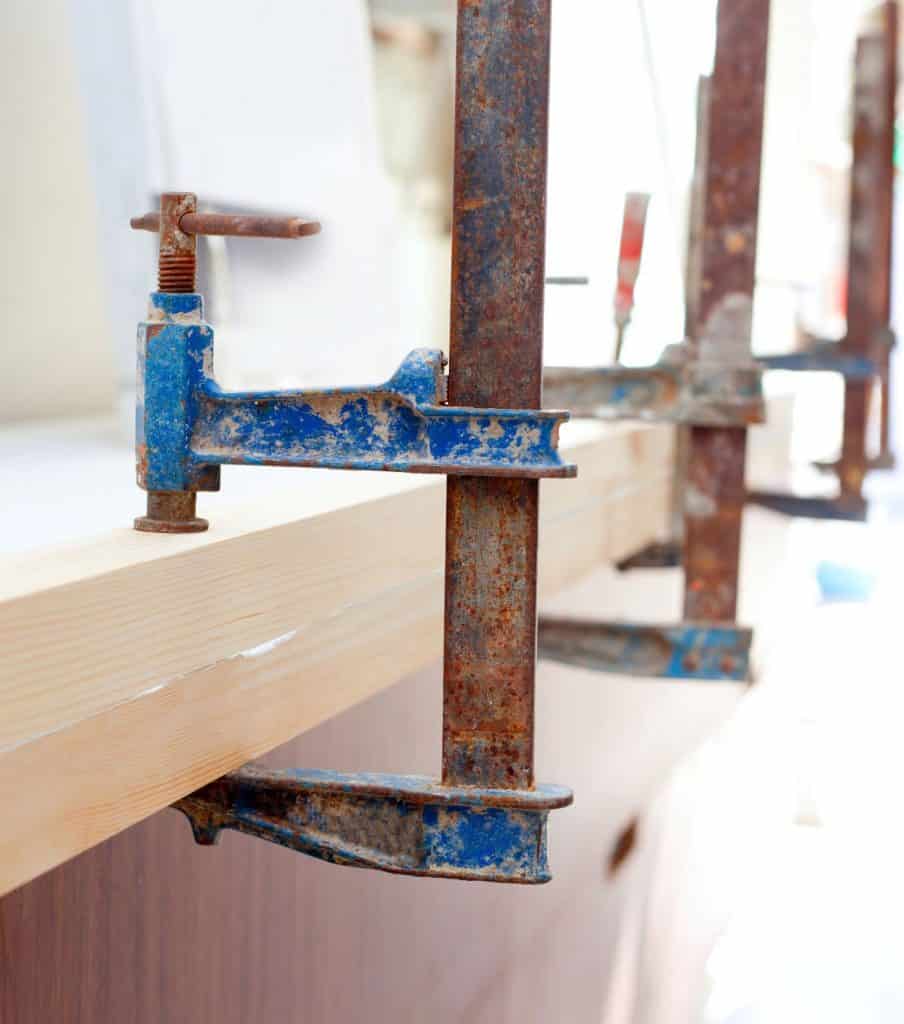
The solutions to these two problems are simple. Don’t assert too much pressure on the clamps and use an adjusted jointer that makes square edges on a board.
As you should’ve noticed, woodworking pitfalls happen in several areas. Just because you know how to measure and cut wood, that doesn’t mean that the project will work out well if you don’t ensure the prevention of the other pitfalls mentioned.
Ensure that you’ve got all the areas covered so that your project is a success.

