Contents
Not everybody is fortunate enough to have a dedicated wood shop, but almost anyone can find some space to work with wood. So long as you can put up with a bit of a mess, and some noise. Well, OK, there’s a lot of noise – so maybe avoid the living room.
If your garage is not packed to the ceiling with old stuff (that you probably should have thrown out years ago), then it’s an excellent place to venture into woodworking. However, there’s a few things you’ll need to setup before using your garage as a workshop.
So let’s get started – here’s everything you need to know to transform your space from a lowly garage to functional woodworking garage workshop.
THE 5 MUST-HAVES IN A GARAGE WORKSHOP
- OUTLETS
- LIGHTING
- DUST CONTROL
- STORAGE
- WORKSPACE
These 5 things are essential when putting together your garage workshop. Without considering these you’ll definitely run into issues soon after getting start, whether it’s not enough power for your tools, or the health risks of not controlling dust as you work.
From the right lighting to safety and convenience it doesn’t take much to get started, but each of these should be considered to get a kick-ass workshop in the comfort of your own home (your garage is comfortable, right?).
Here’s a breakdown of the 5 most important factors to consider when creating your garage workshop – let’s get started!
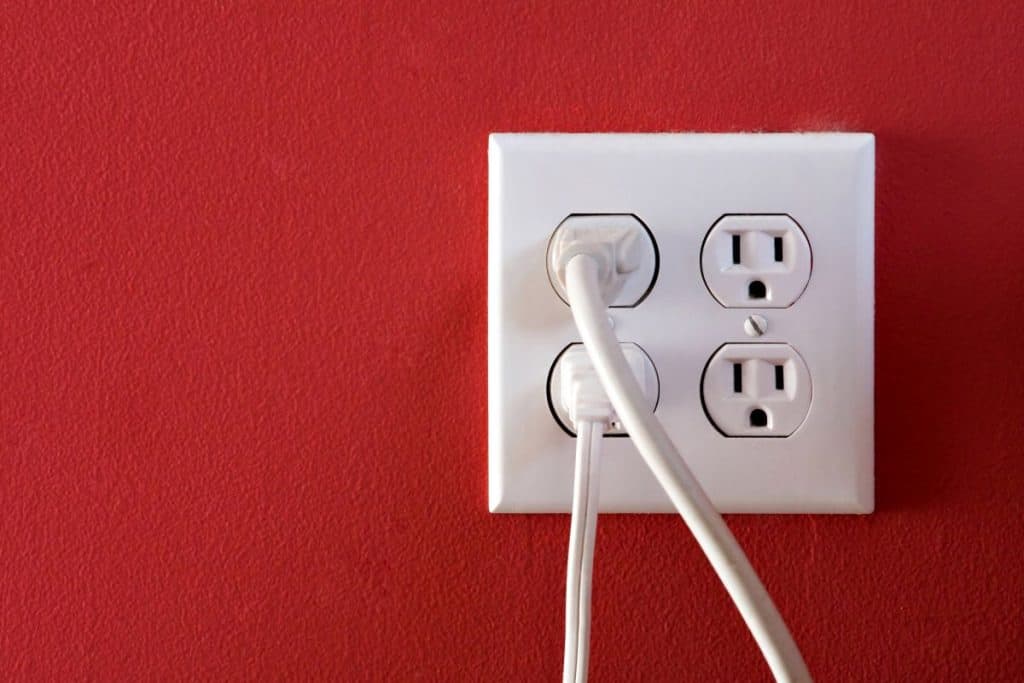
ELECTRICAL OUTLETS

You might be surprised to hear that you don’t actually need to have outlets in your garage for you to do some fine woodworking. There are many woodworkers who use nothing but hand tools, but most woodworkers prefer to use a power tool now and then, if not all the time.
Let’s face it, power tools use less of our energy and make things happen faster than hand powered tools.
Almost all of the basic woodworking tools are available powered by batteries. Yep, even table saws. Unfortunately, battery powered tools are more expensive than conventional electrical tools, so we’ll talk about those at a later date. We want to set up shop without breaking the bank, right?
A plentiful supply of outlets would be ideal, but if you have one outlet in your shop then you can run at least two electrical devices. The two that you can run depends on the total amperage drawn and how many amps your outlet circuit can provide. Simply put, if you have a 20 amp circuit and two tools that use 10 amps each, you’re good to go, right?
Well, not exactly. Most tools use more than the rated amperage when starting up, so if you try to fire up a dust collector at the same time as a table saw, you might trip the breaker. This can sometimes be avoided by starting one, letting it come to full speed, then starting the second.
- If you don’t have enough power, then you’re going to have to “amp up” your circuit. For that, you’ll need to talk to an electrician.
LIGHTING

Lighting is a key element when it comes to working in a shop. It’s not only important to adequately light the project being built and finished, but also for safety’s sake.
Poorly lit power tools and work areas can lead to injury which is a sure-fire way to put a damper on woodworking. Nothing like blood and pain to ruin the woodworking mood, right?
So, what are some options for lighting your garage workshop? There’s two main types of lighting that are available, Natural Lighting and Artificial Lighting.
Natural Lighting
Natural lighting comes from the sun, and it’s the ideal way to light up your work. If your garage has a window or two, then you can enjoy natural lighting, even with the garage doors closed. This is a boon during those colder months when the doors have to stay shut.
- If possible, move your workbench right next to a window. Your work will be nicely “back-lit” by the natural light coming from the window!
Artificial Lighting
Even if your soon-to-be garage workshop does have windows, working at night will require artificial lighting, as will garages without windows on those days when the door has to stay shut.
Most garages come with at least one light installed in the ceiling, sometimes more. If your garage has only one light or two not-so-bright lights, you will benefit by installing additional lighting, or by purchasing work lights that can be moved where needed.
DUST CONTROL

If you’re going to work with wood, you’re going to make sawdust and wood chips, which can make a BIG mess. Wood chips usually fall to the ground but sawdust can fill the air, which limits and hampers vision. There’s two ways to deal sawdust and wood chips; Collection and Filtration.
Collection
Dust collection is the first line of defense. Anytime a woodworker can collect dust and wood chips coming off the tool, the further ahead of the game he is in clean up, and in keeping the workshop air clean and safe.
This can be done by simply hooking up a shop vacuum to a tool or machine with a port, or to a fitting installed near the dust source of other tools. It works but isn’t the best way to control dust and wood chips.
To really collect the mess that comes with working with woodworking machines, a dust collector is the best. These can be stand-alone units that are manually connected to a machine or tool, or more elaborate setups, which involve a permanently installed central collector with ducts and hoses attached to multiple machines.
Filtration
Filtration is mainly for collecting air-born dust. This comes in handy when large amounts of air-born dust are not collected at the tools and machine. Filtration unit can be permanently mounted where they will do the best or portable units can be placed near the work area. Either will help keep the “Dust Settled.”
The simplest form of dust filtration is provided by a dusk mask worn by the woodworker. These can be throw away filters, or masks with replaceable filter elements.
Dust is harmful to your lungs, so it’s a no-brainer to take efforts to keep it out of your lungs. You do want to enjoy woodworking for a long time, don’t you? So it makes sense not to inhale all that stuff.
STORAGE

If you’re going to woodwork in your garage, you’re going to have to find a place to put your wood and tools when you’re not having fun. Don’t worry. You’re not going to need anything fancy for storing your stuff, just something that works.
Tools and Machine Storage
A garage workshop allows for more flexibility in your workspace and tool/machine storage, but only to a point. The layout of the garage is the limiting factor of tool and machine storage, but some well thought out plans will allow it all to work.
A wall mounted tool wall/shelf will take care of most of, if not all, woodworking tools. Carefully planning this setup can store hand tools and small power tools, such as routers, sander, jig saws, and nail guns.
- Why not build a wall mounted storage cabinet for your tools yourself? It will be a fun and practical woodworking project and a simple cabinet can be made with very little effort!
Machine storage is another issue. When the woodworker ventures into buying a table saw, drill press, jointer, and such, the plot thickens. Don’t worry, with the right thinking you can figure out where to store everything when not needed.
Wood Storage
Wood storage will depend upon how much wood you have and how large it is. Sheet goods such as plywood will take up a fair amount of space but are easy to store if you have a bare wall to lean them against. Of course, sheet goods can also be stored underneath vehicles as long as protected from drips.
Solid wood and be stored on end, leaned against a wall, if 8 feet or shorter in length. If that doesn’t work, laying them out of the way, flat on the floor works too. Once you get busy, your wood supply will get smaller.
WORK BENCHES

Woodworking can be done without a bench, as long as there’s a flat surface available to work on. If the project is not large or heavy the bench doesn’t need to be much. A piece of plywood on top of a trash can even do the job, although it’s not very stable and won’t take much of a pounding.
Here are a couple of pointers which will help you to decide what kind of a work bench you need.
Wall Mounted Work Bench
- If space is a premium, a swing away wall mounted work bench will fit the bill. This style bench is swung up when needed, with legs that swing down or out.
- There are also designs where the back edge of the bench is affixed to the wall and the outer edge is supported with legs.
- Wall mounted work benches cost less than free standing work benches as they won’t require as much material to make a base.
- It’s not as stout as a free standing bench, but it will get the work done at starters.
Free Standing Work Bench
- Free standing work benches are sturdy and can take a pounding so they are great for heavier projects as well.
- A movable free standing work bench allows it to be moved away from a wall, providing access from both sides. In doing so, you can move around the bench instead of rotating the project which comes in handy when assembling projects or to take the workbench to the garage door for some natural lighting.
- Free standing work benches are usually heavier in construction than swing away benches.
There you go. Some thoughts on making your garage your garage workshop. Hopefully, that got your mind working and motivated to make some wooden wonders. Have fun!


