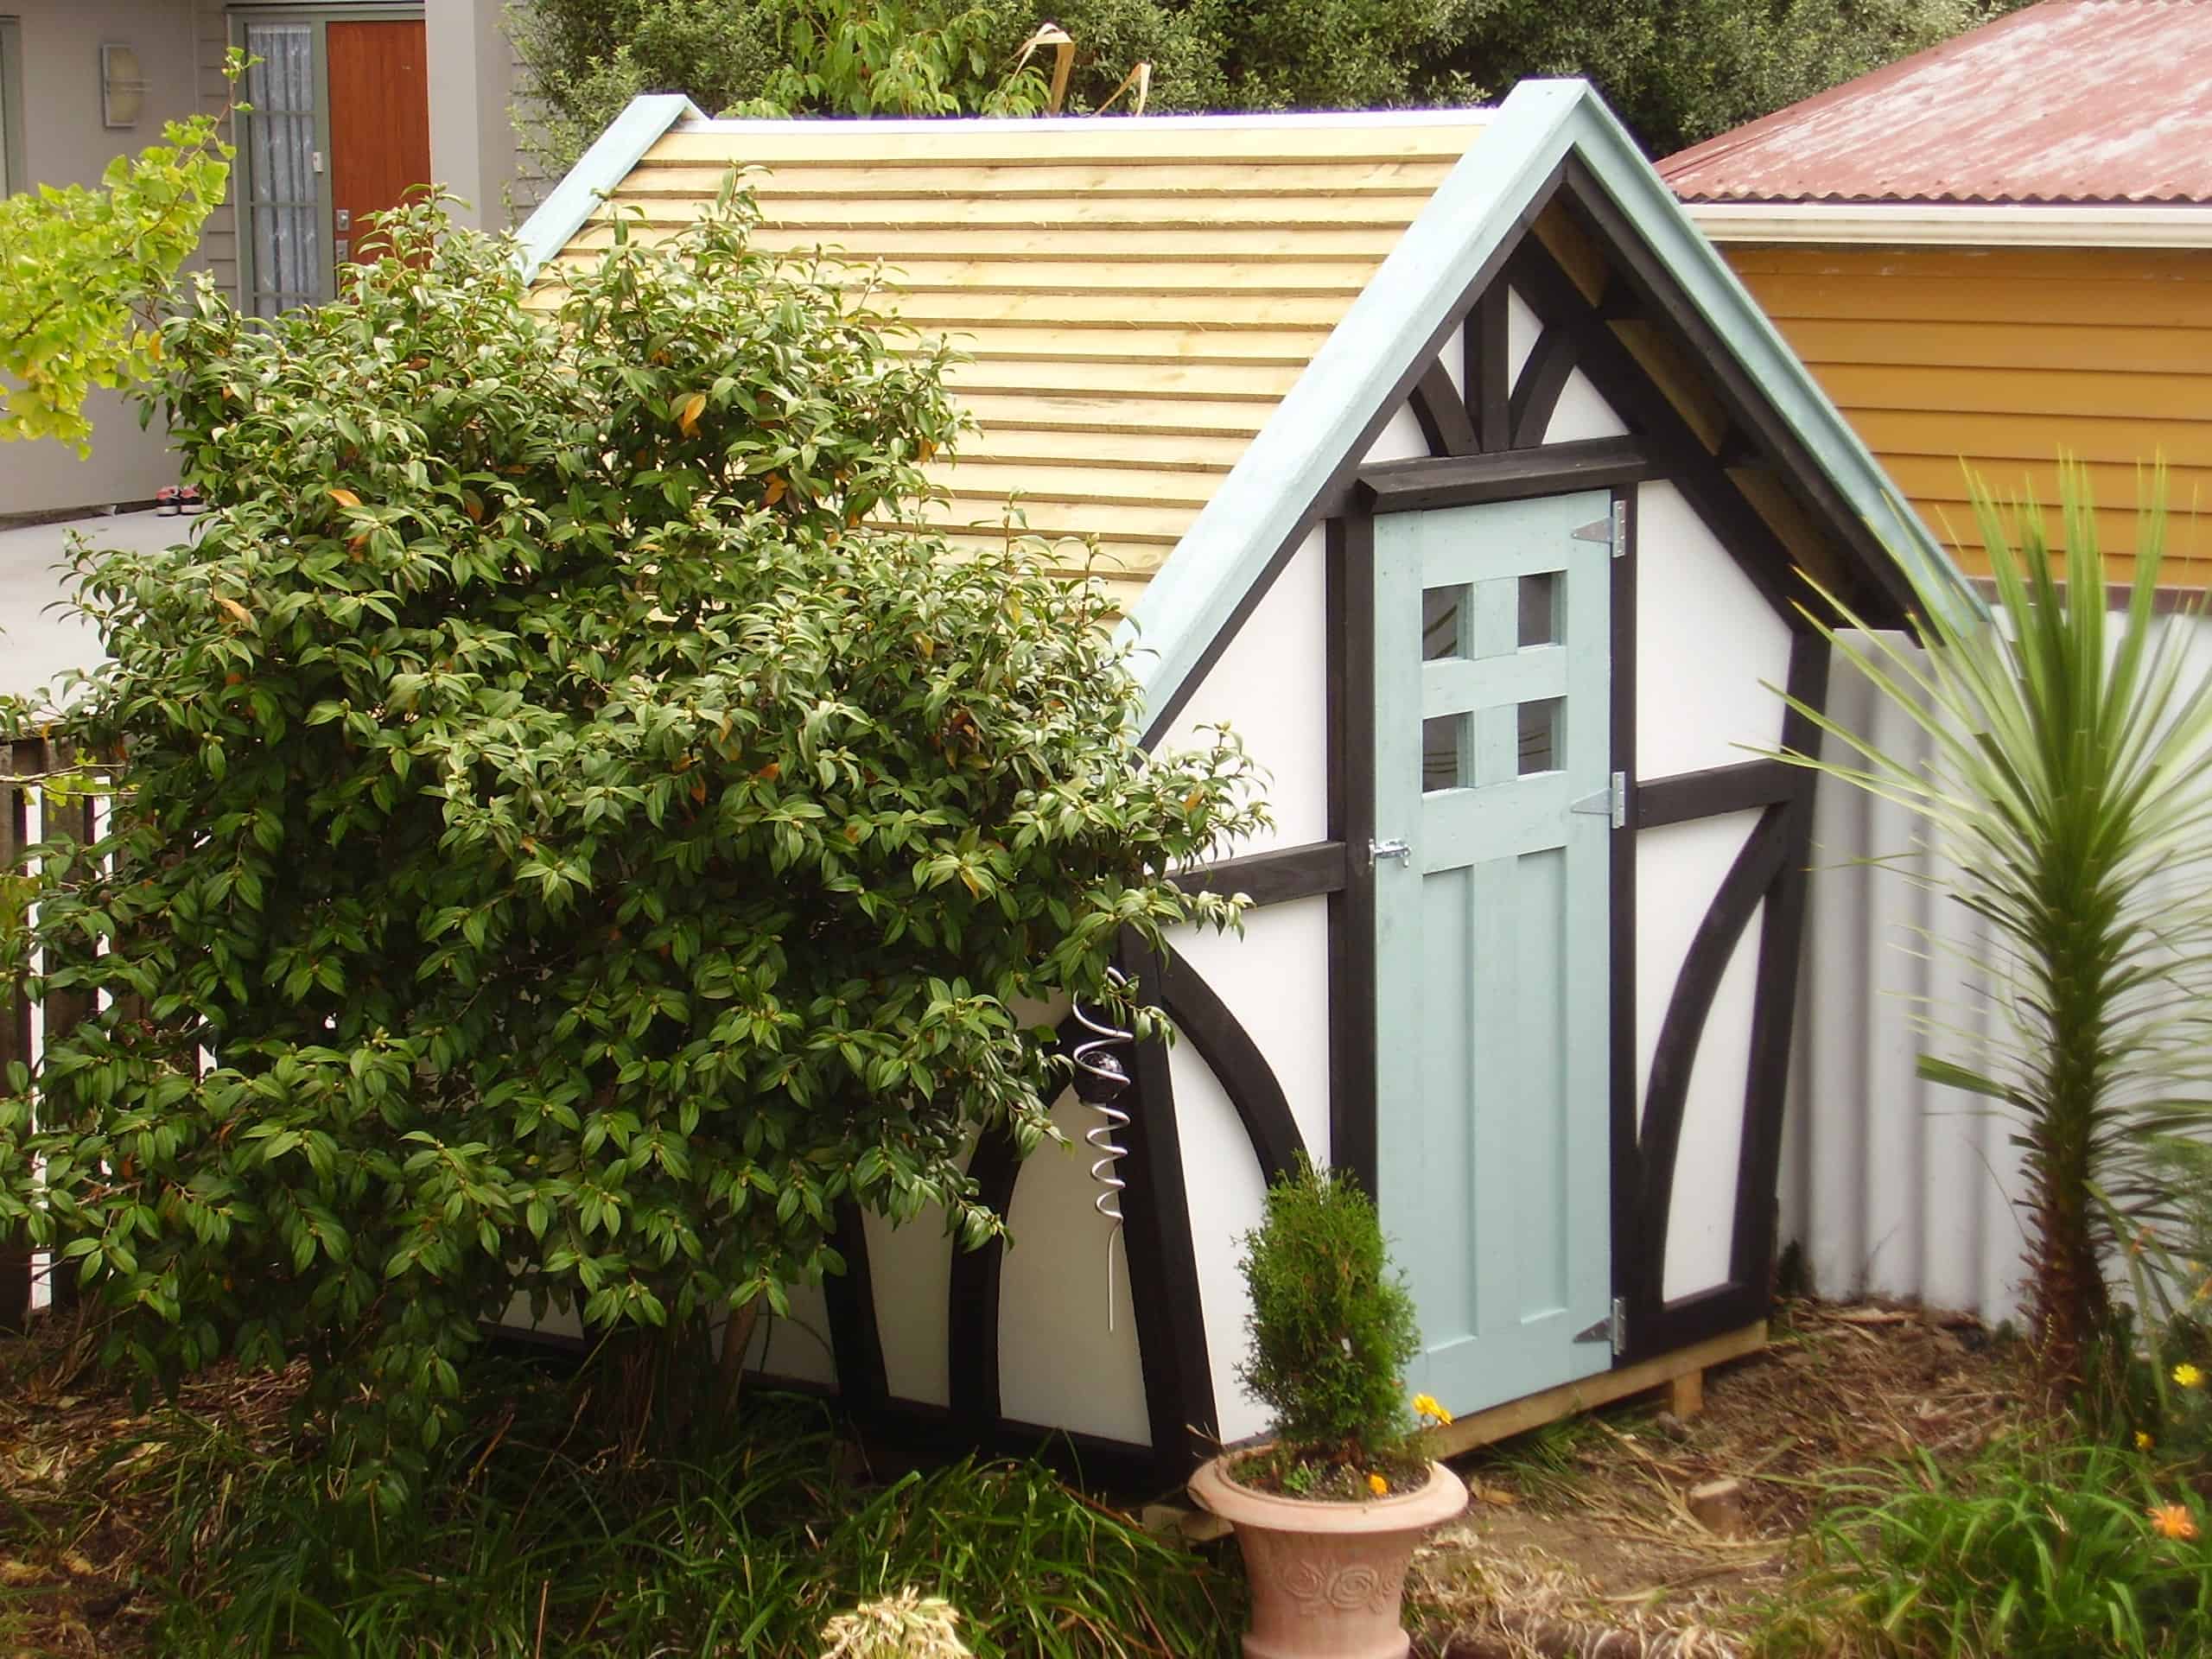
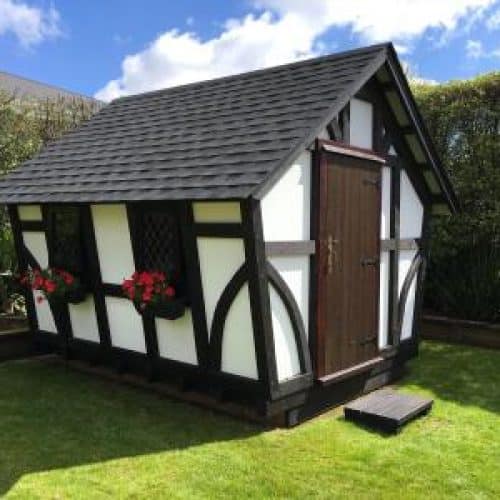
8×7 Tudor style garden shed
$5.00
Description
Plans and step-by-step instructions on how to build a 8×7 Tudor-tyle garden shed.
There are 56 pages in the downloadable PDF file.
This detailed plan-set with step-by-step instructions is in both metric (mm) and imperial (inch) dimensions.
There are clear plans, instructions, pictures, and drawings.
This shed has an appealing, fairy-tale Tudor look, with its sloping side walls and curved braces.
Whereas most wooden sheds consist of a frame, with a siding or wall cladding fixed on the outside, this shed has the cladding fixed to the frame, on the inside. Sort of back-to-front from the ‘run of the mill’ shed.
The shed is roomier than the floor size would lead to believe, as the sloping side-walls give extra space, allowing shelves or work benches to be installed at mid-height, without encroaching too much over the floor area.
It is constructed mainly from 1 1/2″ x 3 1/2″ (90mm x 45mm) wood for the framing, 3/4″ (19mm) thick plywood for the floor and wall cladding, and 3/4″ x 6″ (150mm x 19mm) boards for the roof.
The size of it:
The inside floor size is 6ft (1800mm) wide x 6 1/2ft (1950mm) long.
The inside width gains another 22 inches” (550mm) at mid-height because of the sloping walls. Hence the 8×7 shed. The 8×7 refers to the wall size at mid-height.
The inside height at the highest point is around 8ft (2400mm).
The overall size of the shed (roof area) is 10ft (3000mm) x 8ft (2400m).
The overall height from the ground to the apex is 9ft (2700m).
Material List:
For this project you will need…
# Plywood: 9 of 4ft x 8ft (1200mm x 2400mm) sheets 3/4″ (19mm) thick.
# 1 1/2 x 9 1/2″ (240mm x 45mm) wood: 32ft (10 meters) for the curved decorative braces. This is optional but does look good.
# 4″ x 4″ (100mm x 100mm) wood: 2 lengths at 81 1/2″ (2040mm) long.
# 1 1/2″ x 3 1/2″ (90mm x 45mm) wood: 410ft (123 meters)
# 3/4″ x 6″ (150mm x 19mm) boards: 48 lengths at 96″ (2400mm)
# Acrylic sheet (plastic glass) 3mm (1/8″) thick: 4 pieces @ 8″ x 12″ (200mm x 300mm), 4 pieces @ 7″ x 8″ (175mm x 200mm).
Other bits and pieces you will need…
# An 8ft (2400mm) length of 2″ x 2″ (50mm x 50mm) galvanized angle for the ridge cap,
# 20 galvanized hurricane ties 8″ (200mm) long,
# some adhesive clear sealant for the windows,
# some wood glue,
# 3 of 6″ (150mm) T-hinges for the door,
# 2 of 3 1/2″ (90mm) butt hinges for the window,
# a latch for the door and a latch for the window.
# around 7 lb (3 kg) of 4″ (100mm) flathead galvanized nails,
# around 7 lb (3 kg) of 3″ (75mm) flathead galvanized nails,
# around 2 lb (1 kg) of 2 1/2″ (60mm) flathead galvanized nails,
# and some paint of your choice.


TOM –
Two questions please:
1.) Any recommendations for finishing on the sides regarding weather proofing? Would a Kiltz style primer followed by a finish coat of white acrylic be best for moisture proofing (with caulk as needed)?
2.) Any recommendation for whether to use pressure treated wood to prevent termite issues? I do plan to raise it off the ground with concrete but still concerned as I have lots of mulch in neighborhood of shack. Plan to use it on bottom runners, but is it a good idea at other locations? Seal bottom, ground facing portion with vinyl? Thanks!